In today’s digital age, connecting to the internet has become a crucial aspect of our daily lives. Whether it’s for work, entertainment, or simply staying in touch with loved ones, having a stable and reliable internet connection is essential. With the recent introduction of Starlink, a satellite internet service, users have been given a new way to access the internet, especially in areas where traditional internet services are unavailable or unreliable. However, to fully enjoy the benefits of Starlink, it’s important to know how to connect your router to it.
Are you struggling to connect your router to the Starlink satellite internet service? Starlink offers a new way to access the internet, especially in areas where traditional internet services are unavailable or unreliable. However, connecting your router to Starlink can be daunting, especially if you’re unfamiliar with satellite internet technology. In this guide, we’ll provide a step-by-step process for connecting your router to Starlink so that you can enjoy all the benefits of this reliable and fast internet service.
Contents
Equipment Required
Before we dive into connecting your router to Starlink, ensuring you have all the necessary equipment is important. Here’s a list of what you’ll need:
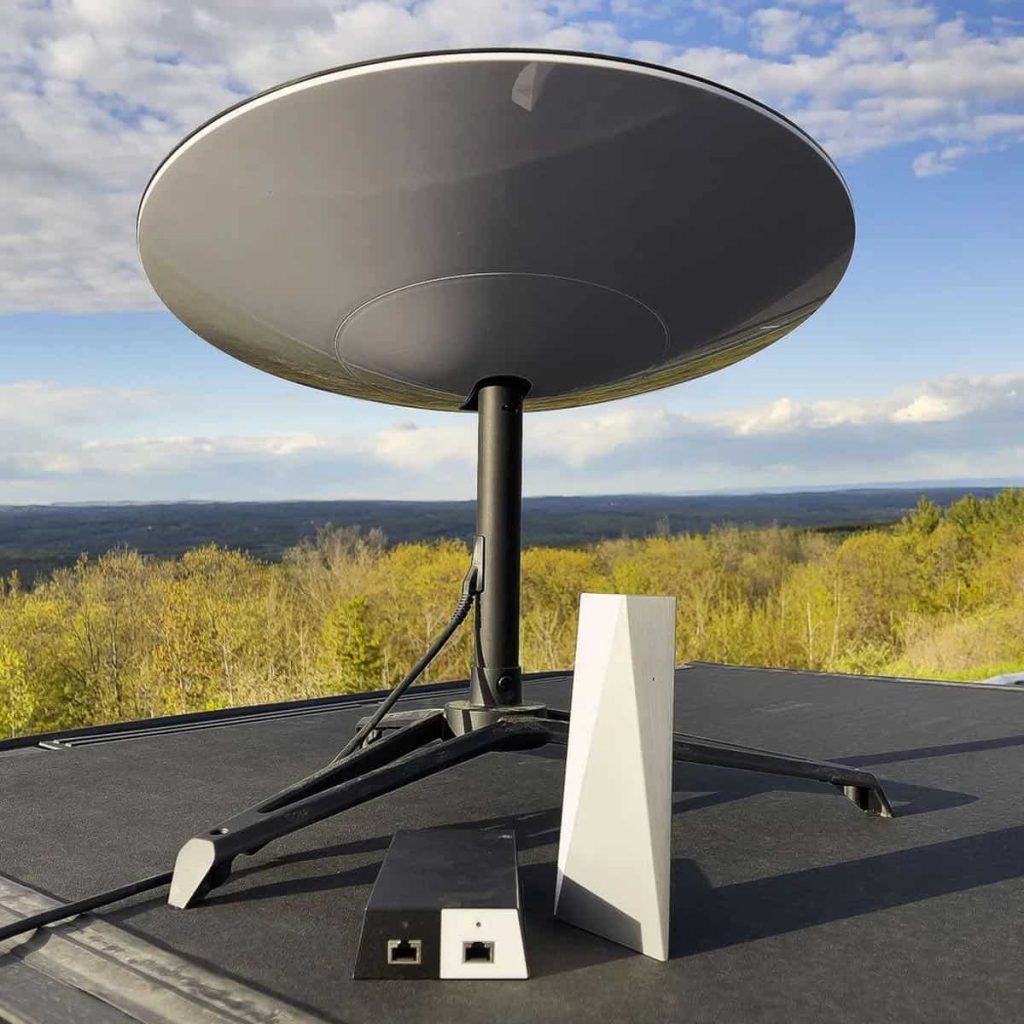
- A Starlink satellite dish – is responsible for communicating with the satellite and transmitting data to your modem
- A Starlink modem – this is the device that connects to the satellite dish and communicates with your router
- A router (preferably one that supports Gigabit Ethernet)
- Ethernet cables (CAT5e or CAT6) facilitate connection among all the other devices.
Having all of these tools and equipment ready before starting the connection process will ensure a smooth and hassle-free setup.
How to access your router settings?
Accessing the Starlink router settings is crucial in connecting your router to the Starlink network. By accessing the router settings, you can configure your router to work with Starlink and ensure that you can enjoy all the benefits of this fast and reliable satellite internet service.
In order to access your router settings, below are some crucial steps that you must follow:
- Connecting your router to the Starlink modem.
- Open a web browser on your computer and type your router’s IP address into the address bar. 192.168.1.1 or 192.168.0.1
- Enter your router’s login credentials. This typically includes a username and password, which can usually be found on a sticker on the router itself or in the router manual.
- Choose the key settings of your choice ie passwords etc.
Additionally, depending on your specific needs, you may need to configure other settings, such as port forwarding or VPN access. Consult your router’s manual or manufacturer’s website for more information on these advanced settings.
In summary, accessing the Starlink router settings is a key step in connecting your router to the Starlink network. By following the steps outlined in this guide, you can ensure that your router is properly configured and that you can enjoy all the benefits of this fast and reliable satellite internet service.
Steps to connect your router to your Starlink
Connecting your router to Starlink can be challenging, especially for those unfamiliar with satellite internet technology. However, with the right guidance, it is a straightforward process that can provide you with a fast and reliable internet connection. Below is a comprehensive step-by-step process for connecting your router to Starlink.
The process involves connecting the Starlink modem to the satellite dish, connecting your router to the modem, and configuring your router to work with Starlink. By following the steps outlined below, you can connect your router to Starlink and enjoy a fast and reliable internet connection.
Step 1: Connecting the Starlink Modem to the Satellite Dish
The first step in connecting your router to Starlink is to connect the Starlink modem to the satellite dish. This is a crucial step as the modem communicates with the satellite and transmits data to your router.
To begin, locate the Starlink modem that was provided to you. Next, find the Ethernet port on the back of the modem and plug one end of the Ethernet cable into it. The other end of the cable should be plugged into the Ethernet port on the Starlink satellite dish.
Once the modem and satellite dish are connected, plug in the power cord to the modem and wait for it to power up. This may take a few minutes, so be patient.
Step 2: Connecting the Router to the Modem
Now that the modem and satellite dish are connected, it’s time to connect your router to the modem. To do this, locate the Ethernet port on the back of the modem and plug one end of an Ethernet cable into it. The other end of the cable should be plugged into the WAN (wide area network) port on your router.
It’s important to note that not all routers are created equal. If possible, using a router that supports Gigabit Ethernet is recommended, as this will provide the best performance. If your router doesn’t support Gigabit Ethernet, it’s still possible to use it with Starlink, but you may experience slower speeds.
Step 3: Configuring Your Router
Now that your router is connected to the modem, it’s time to configure it to work with Starlink. The exact process will vary depending on the router you’re using, but there are a few general steps that should be followed.
First, access your router’s configuration page by typing its IP address into your web browser. This is typically something like 192.168.1.1 or 192.168.0.1, but it may vary depending on your router.
Once you’ve accessed the configuration page, you’ll need to enter your Starlink login credentials. This should include your username and password, which were provided to you when you signed up for the service. If you’re unsure of your login credentials, contact Starlink support for assistance.
Next, you’ll need to configure your router’s wireless settings. This includes setting up your Wi-Fi network name and password. Choosing a strong password is important to ensure your network is secure.
You may also want to configure other settings, such as port forwarding or VPN access. Consult your router’s manual or manufacturer’s website for more information on these advanced settings.
Step 4: Testing Your Connection
Once you’ve configured your router, it’s time to test your connection. Start by connecting a device, such as a laptop or a smartphone, to your Wi-Fi network. Open a web browser and navigate to a website to confirm internet access.
If you’re experiencing issues with your connection, there are a few troubleshooting steps you can take. First, try power cycling your modem and router by unplugging them from the power source for a few minutes, then plugging them back in. This can often resolve connection issues.
If power cycling doesn’t work, reset your router to its default settings. This can be done by pressing and holding the reset button on the back of the router for 10-15 seconds. Note that this will erase all of your router’s settings, so you’ll need to reconfigure it from scratch.
If you’re still experiencing issues, contact Starlink support for assistance. They can provide further troubleshooting steps or escalate the issue if necessary.
FAQs
The best router to use with Starlink is one that supports Gigabit Ethernet. This will provide you with the fastest and most reliable internet speeds. Some routers that are recommended include the Netgear Nighthawk X10 and the ASUS RT-AX88U.
Yes, you can use your existing router with Starlink as long as it supports Gigabit Ethernet. However, you may experience slower speeds if your router does not support this technology.
To reset your router to its default settings, locate the reset button on the back and press and hold it for 10-15 seconds. This will erase your router’s settings, so you’ll need to reconfigure it from scratch.
If you’re experiencing connection issues, try power cycling your modem and router by unplugging them from the power source for a few minutes, then plugging them back in. If power cycling doesn’t work, try resetting your router to its default settings. If you’re still experiencing issues, contact Starlink support for assistance.
Yes, you can connect multiple devices to your Starlink network, just like you would with any other internet service. However, keep in mind that the number of devices you can connect at once may depend on your internet connection speed. If you have many devices that need to be connected, consider upgrading to a higher-speed plan.
Conclusion
In conclusion, connecting your router to Starlink is a simple process that can provide you with a fast and reliable internet connection. While it may seem daunting at first, following the steps outlined above will make the process straightforward and hassle-free.
From connecting the Starlink modem to the satellite dish to configuring your router to work with Starlink, each step has been detailed to ensure you can easily complete the process. By having all the necessary equipment and tools ready before starting the setup process, you can be assured of a smooth and hassle-free experience.
Whether you’re a business owner or a home user, having a fast and reliable internet connection is essential in today’s digital age. With Starlink, you can be assured of a stable and dependable connection no matter where you are. So, follow the steps outlined in this guide, and start enjoying all the benefits of Starlink today!