
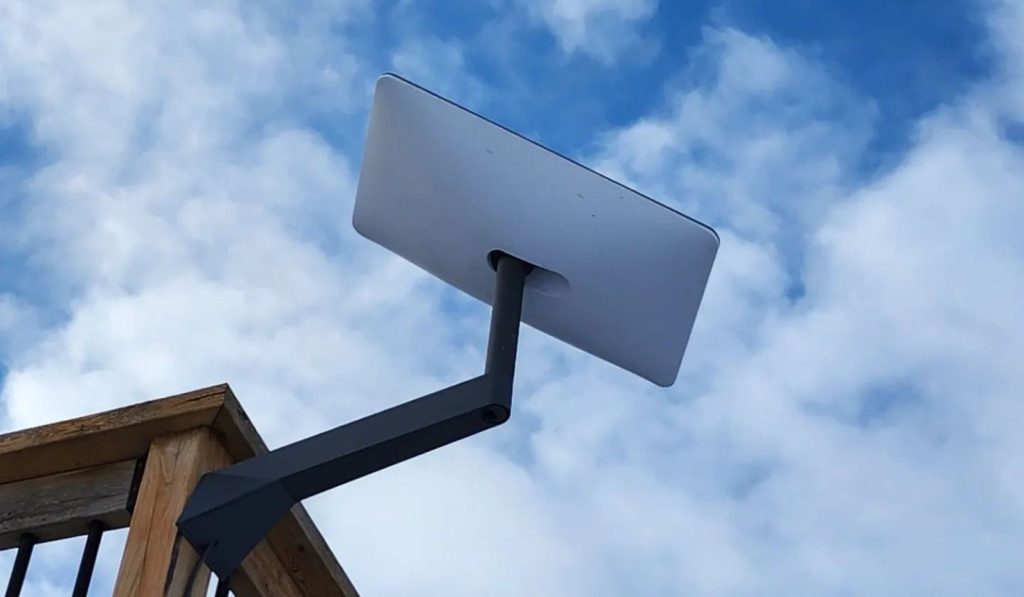
If you’re lucky, you might already have a Starlink satellite kit with you. For simplicity and pre-connection, the kit comes with a small four-leg base. Although this might work for testing purposes, if you’re a DIYer, you might want to mount the dish in a precise location.
For effective results, the kit requires proper mounting of the dish on either the roof or a pole. Understanding the steps involved in mounting the Starlink proves a cost-effective skill as it eliminates the need to hire a professional.
Below is a detailed DIY mounting procedure for those who have purchased the Starlink and do not know how to mount it and those curious about installing the Starlink dishes.
However, before you embark on the installation process, there are a few things to take care of while the Starlink roof mounting.
Contents
Check for Obstructions
For a successful installation. You need to find a precise location without obstructions. You can achieve this by using the Starlink app.
Firstly, locate the position where you intend to set up your Starlink. Using the app, use your phone’s camera to scan the area above you; this will ensure you explore Starlink’s entire field of view.
Note: While doing this, ensure you stand still to get the most accurate results. Moving around too much might not give you the accurate results that you desire.
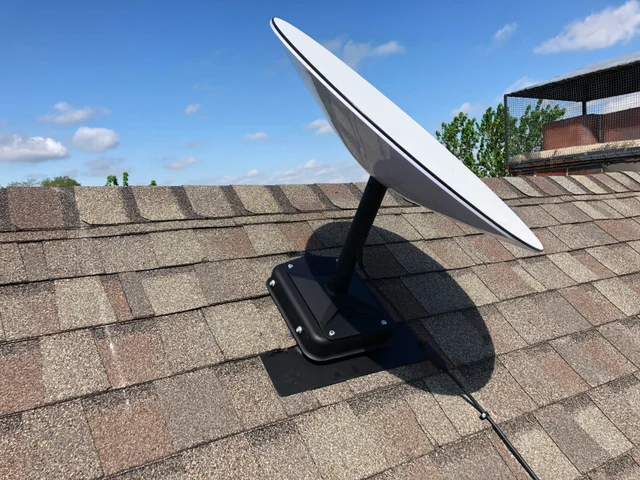
Roof Mounting a Starlink
The Starlink kit has a base, which provides an area for ground-level installation or a setup for your connection. Starlink best operates under a clear view of the sky to achieve the best connection; thus, it is best to mount it above ground levels permanently.
There are various types of mounts that you can use. Here is how to use the different methods when mounting your Starlink satellite.
J – Mount
J-mounts are a common way to install satellites because they are versatile on surfaces and angles. Since they are also readily available in the market, they are a great option for mounting your Starlink dish.
For installation, get your tools ready and proceed as follows:
- Select the mounting location
- Get your mounting hardware- wooden surfaces; use wood lag screws or other fasteners to suit your material.
- Lay out the J-mount on the surface, and mark the holes
- Drill pilot holes if you will be using any lag screws
- Secure your mount with the lag screws
- Align the mast and use a level to check its position
- Tighten the angle adjustment nuts in the configuration suitable to your area
- Once the j-mount is fully fastened on the surface, slide your Starlink dish, taking care to avoid damaging the cable
- Using a universal adapter, U-bolts, Bolts, or Starlink spring tabs, secure the J-mount to the Starlink mast.
- Now, plug in Starlink and give it time to boot up
Flashing mount
A flashing mount kit for installing your Starlink will come with a mounting base, a mount lid, a tracing tool, lock nuts, tek screws, sealing washers, foam gaskets, and some truss head screws.
For installation, you will do it in 2 parts:
Part 1: Attaching the Mount Lid and the Volcano Mount
- Place the volcano mount onto the mount lid
- Fasten them using screws and a wrench
- Plaster on the foam gasket by removing the backing and sticking it inside the mount
Part 2: Installing the flashing mount on the roof
For installation on the roof:
- Find the neared roof beam
- On a beam, align the bottom edge of the center tracing tool with a shingle
- Trace the outline of the center tracing tool on the beam
- Cut out the outline of the mount with a knife while avoiding the bottom shingle layer
- Remove the top layer of shingles with a pry bar
- Drill a hole in the area where you removed the top shingles
- Slide the mount into place. Make sure the bottom sliding goes under the top layer shingles
- Fasten the mount in place with truss head screws
- Add roof cement around the edges of the mount, and put back the shingles
- Now, place the top half of the mount assembled in part 1 onto the mount, and attach them using tek screws
- Place the Starlink mast into the hole, and fasten them using wall clips
Pole mount
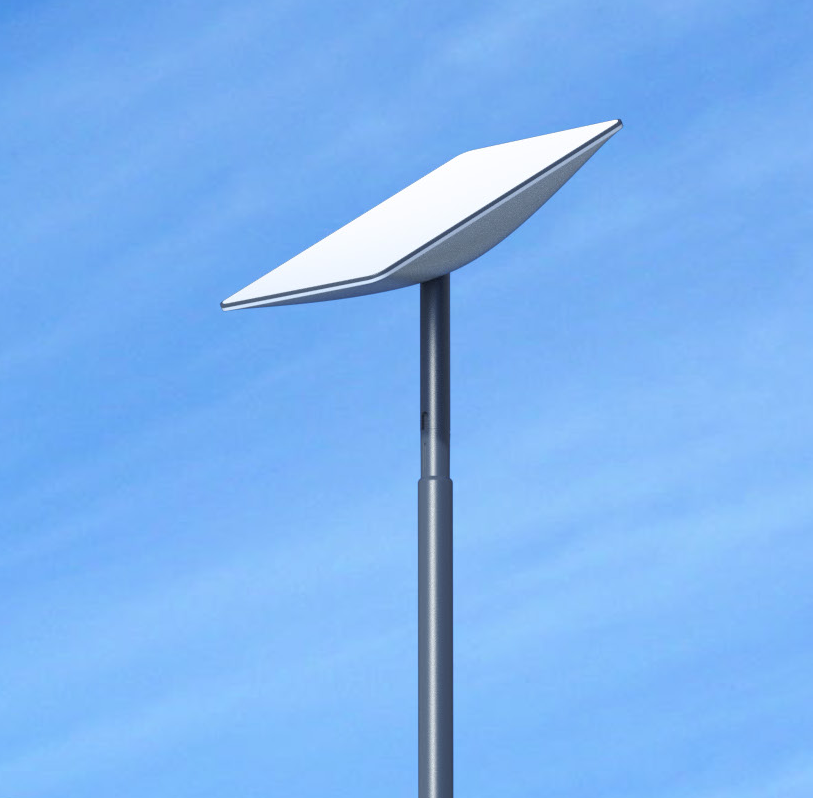
You can also install your Starlink with a pole mount if you have a nice open space. When you order a pole mount kit, the package will come with a top tube, a bottom tube, a shovel, a mortar hoe, some gloves, a level, concrete mix, a mixing trough, and some water.
For installation:
- Insert the bottom tube into the top tube, and tab them ( bottom tube) against a hard surface to solidify the bond
- Choose your installation zone; a location with solid ground is best. Avoid gravel, marsh, and loose soil zones
- Dig a hole 2ft deep and 1.5 ft wide
- Place the pole at the center. Use your level to confirm it is vertical
- Mix the concrete and water as per the instructions and pour them into the hole
- Hold up the pole in the vertical position until the concrete sets. You can leave the pole and concrete to cure overnight fully.
- Install the Starlink and mount it on top of the pole. Ensure you route the cable through the pole, through the routing hole
Tripod mount
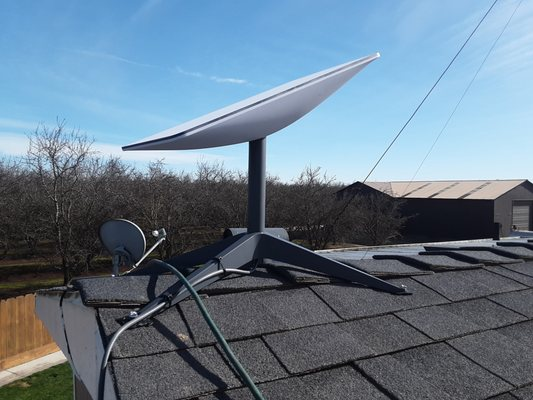
If you want to install your Starlink device on a flat surface and have a lot of space, then the tripod mount is your choice. The tripod mount is a 3′ heavy-duty tripod used to mount satellite antennas or off-air antennas. It is made of 18 gauge steel. This tripod becomes popular with Starlink customers when used with our optional Starlink-compatible mast. It allows them to get an antenna higher above ground for a clearer line-of-site, and it can also be mounted to a roof permanently to hold the Starlink antenna as well
This tripod collapses for easy storage in an RV or passenger vehicle if and when a portable antenna stand is needed in a mobile application. This tripod also has holes in the bottom brackets that allow you to stake it down to the ground or secure it to a deck, roof, etc
Features:
- Sturdy steel construction Zinc / galvanized surfaces resist rust
- Mount on roofs, decks, or any sturdy surface
- Swivel feet rotate to accommodate pitched surfaces
- It can be used as a portable tripod for RV use
Shipping Dimensions:
- 6.50 in. wide x 6.50 in. high x 38.5 in. deep
- Volume: 1,626.63 cubic inches
- Weight: 8.4 lbs.
To properly install the tripod stand, follow the procedure below:
- Find a perfect place with a clear sky view to set up the tripod. Avoid any obstructions, as they can block the signal from the satellite.
- Thrust in the tabs on either side of one leg and slide the leg into the tripod base until it locks into the desired position. Repeat for other legs
- Place the bubble leveler on top of the tripod and push until the level snaps into place. Loosen the lock knobs on the tripod base.
- Slide legs towards or away from the base until the bubble rests in the center of the bubble level. The tripod is now level. Tighten the lock knobs and remove the bubble level
- For extra stability, insert stakes into the holes on the pivot feet of the legs and push the stakes onto the ground. Check that the tripod is still level
The tripod mount is mounted directly onto the earth for a stable temporary mount or on a flat roof for permanent mounting. The tripod stand, however, takes a bit of space; thus, there is a risk of tipping over during windy conditions.
Chimney mount
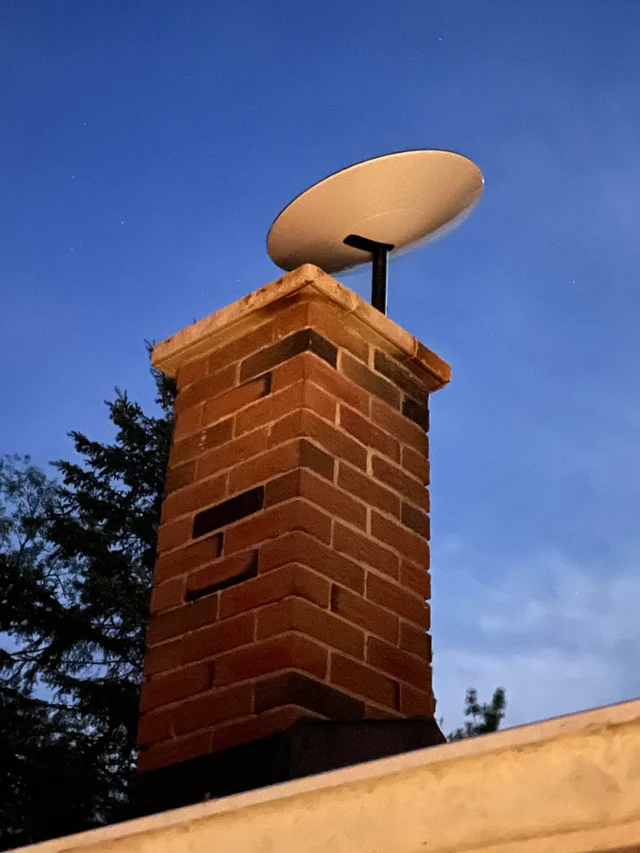
When you need to extend your Starlink dish beyond the height of your roof, a chimney mount is a perfect solution. As with other mounts, it does not involve an actual mast, but it contains all the necessary hardware to fasten a pole to a blocky structure or chimney securely. The materials are made from galvanized steel, offering proper resistance against rust and corrosion.
Inside the kit are multiple U-bolts, steel straps, and all the necessary hardware. It involves wrapping each of the 12-foot straps to your chimney and fastening them. The result is a locked, form-fitting add-on that works universally well with tall chimneys, regardless of their specific shape.
Tools required to best mount your chimney mount include:
- Vise grips
- Hammer
- Tin snips
- Tape measure
- Wrench
Materials in the chimney mount installation lits include:
- Strap bolt
- Chimney brackets
- U clamps
- Steel strap
- Strap circles masts
- Strap clips
Step-by-step instructions on the best way to install your chimney mount include:
- Join the swaged end of one mast into the round end of the other mast
- Tap the two sections together with a hammer. A piece of wood will protect the end from damage
- Insert all four straps bolts into the chimney bracket holes and secure it approximately ¼ inch through external lock washers into nuts
- Feed the strap through a strap clip and up through the strap bolt. Bend the strap and insert it back through the strap clip
- Bend the strap back over the strap clip and crimp the strap clip securely over the strap
- Feed the stainless straps around the chimney without twisting them. Repeat steps 4a-4d to secure the loose strap ends to the brackets. Cut off any excess material once secure. Brackets should be at least 18″ apart for proper mast support.
- Tighten the stainless steel straps with the adjustment nuts at the ends of the strap bolts. Make sure straps are centered on bricks and not mortar.
- Insert the bottom of the mast into the chimney brackets and secure it with the U-clamps
It is an ideal mounting option as it fits all chimneys despite the material, shape, and size. It is a flawless solution for getting more height that may be hard to achieve. However, it is not the first option for customers who don’t want to acquire their own mast/pole locally. Depending on your specific chimney, installation can be a bit cumbersome.
A Tower mount
In some circumstances, to achieve minimum obstructions, there will be a need to install the Starlink dish far away from their homes. A dedicated tower might be required to get the vertical height needed. Tower Mounts offer a solution for these tough circumstances.
To successfully mount your tower mount for your Starlink dish:
- Use a base plate template to mark and drill holes for fasteners that meet your local building codes.
- Anchor the post-mount tower to the concrete surface using fasteners. When mounting to a deck, you must pass through the bolt to the surface. Post mount tower must be attached, such as an angle bracket (not supplied). If an angle bracket is not used, a double-up 2 x 6 blocking between the joist and thru bolt mount using four mounting holes.
Note: use the concrete mounting hole on concrete surfaces and the outer mounting holes on asphalt or other surfaces.
- If the concrete surface is unlevel, place the leveling plate on the surface as shown. Use the leveling screws to level the post mount tower: anchor to the concrete once level.
- Once the post mount tower is secured, slide the post over it. Using a long bar, tap the locking wedge down into the post-mount tower to lock it into position.
Tower Mount is the best for getting above or away from obstructions. When you can’t mount it to your roof or structure. However, adding a tower to your property is a tricky undertaking and is more expensive than all other mounting options. This more custom installation solution will require more hardware modification than other options.
A Non-penetrating roof mount
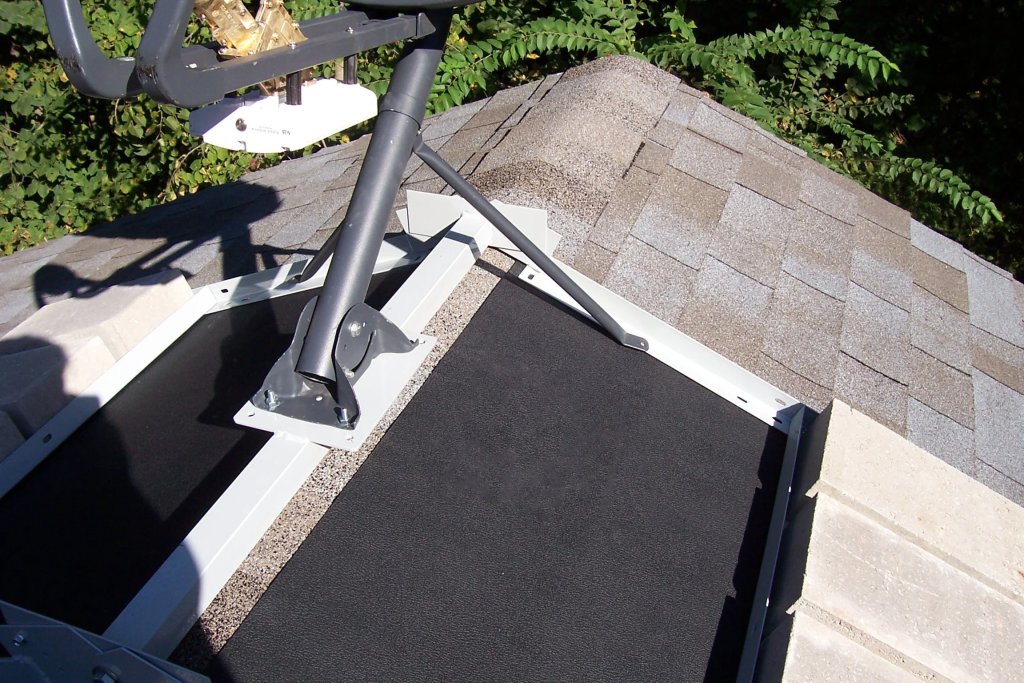
This mount is designed with smaller residential-style satellite antennas such as the Starlink dishes. This mount is intended to be installed in areas where anchoring to the structure is prohibited or not recommended. A rubber mat is highly recommended for use with this mount
Mount contents include:
- Mounting frame
- Hardware kit
- Rubber mat
- Aircraft grade cable
- Cable clamps
Installation instructions include:
- Determine the Azimuth reading for the installation.
- Choose and prepare the installation site per the following requirements:
- Choose a location to install the mount with a clear line of sight of the sky without any obstructions. Ensure that the antenna will not experience signal blockage due to trees, buildings, utility poles, and wires. Also, ensure the antenna sight would not be affected by tree growth or other foliage over time.
- Make certain the mounting structure will support the weight of the antenna, mount, and ballast.
- certain the mount is positioned so that the antenna will be pointed to within 45 degrees parallel to the long front face of the mount.
- If tethers are required, the tether attachment points or locations should be solid enough to withstand 1500 lbs of tensile loading from the cable tether.
- Remove any rock, gravel, or other objects to provide a clean and level surface to install the rubber mat and mount.
- Place the rubber mat on the installation surface.
- Assemble the mast/foot assembly supplied with the antenna to the center plate of the non-penetrating roof mount using the four screws and nuts provided. The mast should be extended over the edge of the mount. Torque the hardware to 120 in-lbs minimum.
- Place the mount and center it evenly on the rubber mat. The mount should be set level without rocking. Do not shim or raise the frame from the mounting surface in any way.
- Using a compass, align the mast and antenna toward the satellite or azimuth position determined in step 1. The mount should be aligned to within 45 degrees of the azimuth
- Ground the mount as required by the applicable Electrical Code
- Plumb the upper portion of the mast using the level and torque the mast/foot assembly as required.
- Install the proper amount of ballast on the frame. The ballast should be distributed evenly.
- Install the antenna according to the manufacturer’s instructions
FAQs About Roof Mounting
Yes, the roof is a common place to install your Starlink. It is suitable as most roofs have a direct view of the sky.
Most roof-mounted dishes are installed on the edge of the roof for maximum efficiency and access easibility.
Metal roofs present a tricky DIY procedure but can be solved easily. Use a bracket to fasten the dish on the roof for maximum stability.
Starlink will face north for most customers in the US. But depending on where you are in the world, the pointing direction will differ in direction.
Conclusion
Starlink provides better internet speeds compared to all other providers. Starlink’s performance varies by the user depending on the quality of installation. The installation kit is self-sufficient and ensures you achieve the best tools.
Mounting your Starlink depends on several factors, such as obstructions, roof angle, and present budget. You can mount it on a pole, on your chimney, using a tripod, or on your roof.
Most of these mounting options are ideal for folks with a DIY ambition. Although some require minor modifications, they are compatible with the latest Starlink dishes. The DIY guides will help you get a good installation, even without experience. However, have a professional install the system if you foresee any risks that could result in injury.