Keeping your Starlink dish clean is crucial because it is a significant aspect that influences the system’s performance and signal strength. However, cleaning your satellite dish is not as easy as you think. There are a few essential things to know and specific steps to ensure proper cleaning and optimal performance.
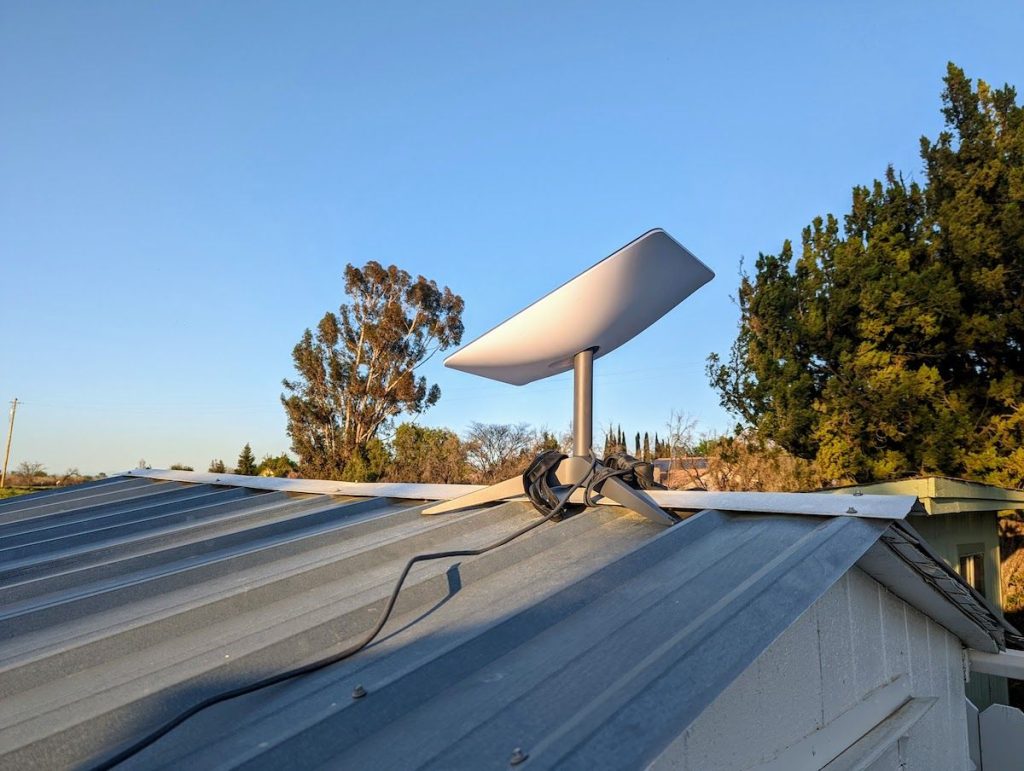
Like any other satellite dish, a Starlink dish will be installed outdoors. This means it will be subject to harsh and extreme weather conditions like rain, wind, and snow. Do not forget the bird poop. So, it is essential to keep the dish clean. Most users typically do not bother to care about their Starlink dish. However, it has a lot of significance. Besides an unsightly appearance with bird droppings, dust, dirt, and snow, an unclean dish will slow down the internet speed.
Ideally, these are also obstructions, apart from trees and buildings, that deteriorate the quality of the internet. So, you must take cleaning your Starlink dish seriously. You must inspect it occasionally and follow the tips explained in the later section of this article to clean your dish and get strong and consistent connectivity.
Apart from slow loading, you will also experience other performance issues, including pixelation, signal loss, and more. So, there is no alternative to a clean Starlink dish if you want to enjoy a seamless internet service.
Contents
Safety Precautions Before Cleaning the Starlink Dish
Safety is important because the dish will be installed outdoors, usually on the roof. So:
- Consider the weather – Any day or every day may not be suitable for cleaning your Starlink dish. You should not try doing it on a rainy or snowy day. It increases the risk of slipping and falling from the roof.
- Safely access the roof – This is one primary aspect you should take care of. Always use a ladder to access the roof. Proper roof access is recommended if the dish is installed in a precarious place.
- Safely harness yourself – Do not take any chances while accessing the roof. Always use a proper harness to prevent falls and serious injuries. Do not work alone. Always have a couple of people with you to help, instruct, and rush to you if something untoward happens.
- Prepare yourself well – Wear proper shoes or boots when you get onto the roof. Also, wear suitable gloves to prevent injuries, cuts, and bruises.
- Turn the receiver off – This is the next important thing you should do. If you do not, you will run into the risk of getting yourself electrocuted. It might also cause a fire.
Required Tools and Materials for Cleaning
You will not need expensive tools and equipment to clean your Starlink dish. Simple and easy-available material in your home will suffice in most cases. Sometimes, a bucket of water and a piece of disposable rag will be all you need. However, it depends on the type of cleaning your dish needs.
If there is a lot of dust and dirt on it and its nooks and corners, you may need to use a small compressed air duster for cleaning your Starling dish and a piece of dry cloth. You may use a sponge and warm water, dish soap, or window cleaner to wipe the bird droppings from the surface of your satellite dish.
Step-by-Step Guide for Cleaning the Starlink Dish
The steps for cleaning different things from your Starlink dish are different.
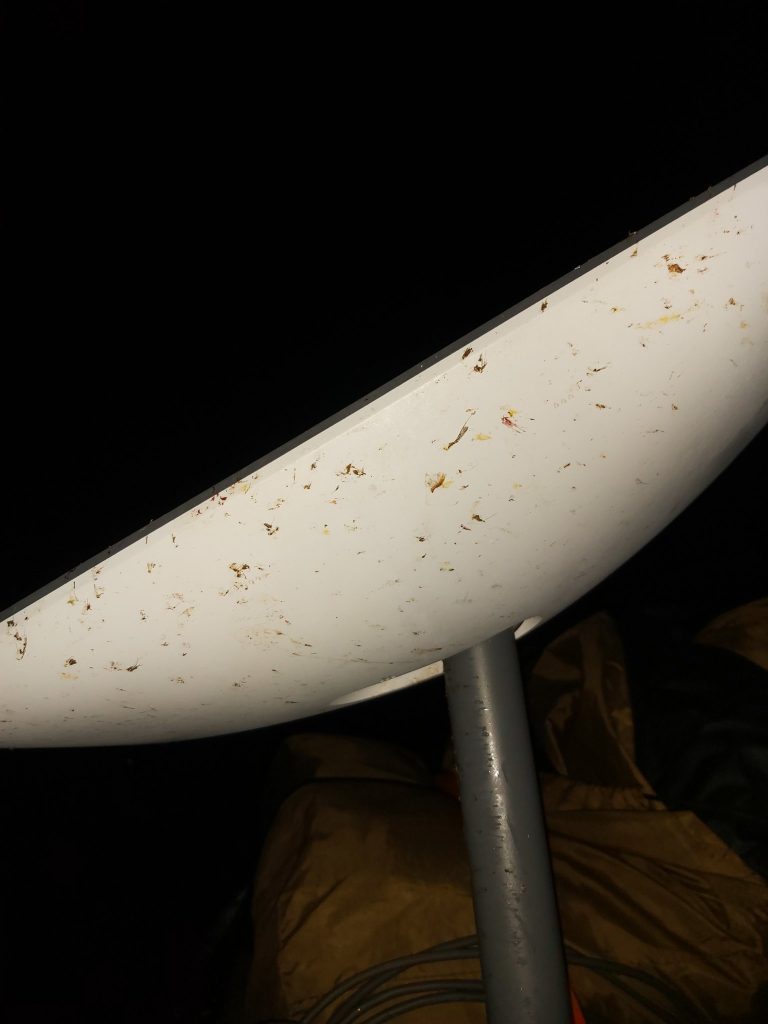
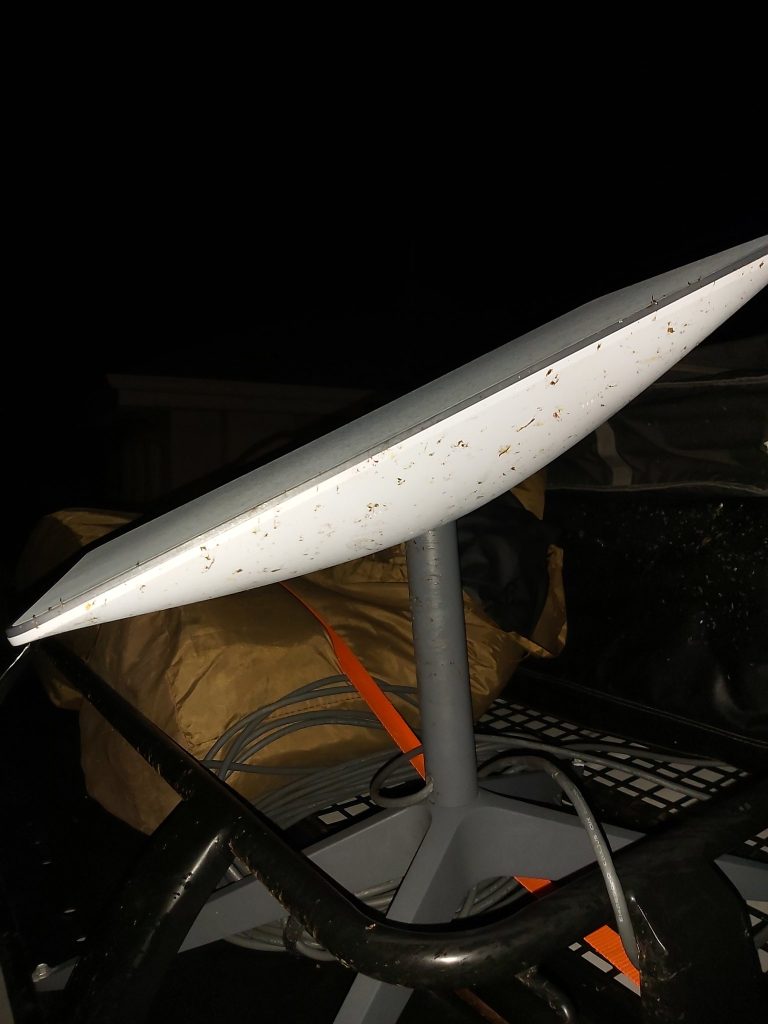
- Use a biodegradable, gentle, and nontoxic cleaner to clean bird poop from your Starlink dish. Soak them and let them sit for about 5 to 10 minutes, and wipe them gently with a dry, clean cloth or microfiber towel. Mixing warm water and baking soda is an excellent solution to clean bird poop.
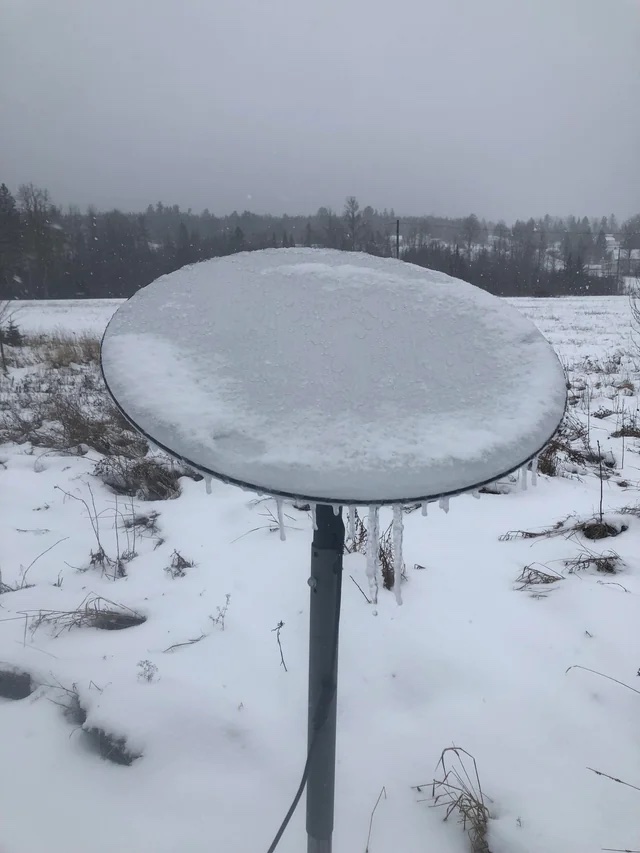
- Do not use force or a sharp object to cut snow buildup on your dish. Scrubbing your dish or chipping the ice will cause misalignment and poor signal. Letting the ice melt naturally is the best way if the buildup is not excessive. You may use a small hand brush and a piece of cloth to remove excess snow or ice from your dish but do not exert too much force to shake the dish. Never hit it.
- To remove the dust and dirt, wipe them with a hand brush or blow them off with an air duster. If debris is stuck onto the dish, you must clean them by hand and not a broom and put it in a trash bag. You may need to use a mild cleaning solution at times. Wearing a pair of cleaning gloves is therefore essential.
When everything is clean, reconnect the cables.
Tips for Maintaining a Clear Line of Sight
While cleaning your satellite dish, ensure there are no obstructions to its performance that you may have overlooked. A clear line of sight and a clean dish are required for optimal performance and a seamless internet experience. So, ensure that nothing physically stands in the way of your Starling dish and the Starlink satellites. No buildings, trees, overhanging branches, or other objects should be in the way. If you see any overgrown vegetation, trim them to clear the signal route.
Another important aspect is ensuring the dish is fixed properly on your roof. Check that after cleaning to ensure nothing is loose, which can cause misalignment to the line between the dish and the satellite. Check the mounting bracket and the hardware. Check for rust, damage, or corrosion to the exposed bolts and screws, and tighten anything loose.
Dealing with Extreme Weather and Environmental Factors
As said earlier, you should not clean your Starlink dish if the weather conditions are unfavorable. However, the dish itself will have to ensure it all the time. Therefore, you must make proper arrangements to prevent it from being damaged due to extreme weather conditions.
Ideally, the Starlink dishes are built strong enough to endure severe weather conditions. Still, they may not be strong enough to withstand extreme weather conditions, such as high winds, thunderstorms, heavy snowfall, or other events. These can cause severe damage to the dish.
So, you must make additional investments to protect the satellite dish from such adverse weather events. It includes:
- A weatherproof shield or cover
- Remove snow to prevent its buildup and
- Ensure it does not get physically damaged, as that will affect its signal reception and performance.
You must also keep the cables connecting the dish to the modem secure and check for wear and tear to prevent damage during bad weather conditions. If you see frayed wires or cables, replace them immediately.
Troubleshooting Common Issues During Cleaning
Cleaning your Starlink dish is a systematic process, and there may be some issues that you should troubleshoot. Moreover, the dish comprises a complex set of electronics. You will need to give additional care to them so that you do not damage them due to overdoing anything.
Identify the issues first and resolve them accordingly. You will need to consider several factors for it, such as:
- The alignment of the dish
- The obstructions to it and
- The malfunctioning equipment
Often, these are the primary causes for issues like poor or no signal. The simple troubleshooting tips for them are:
- Removing obstructions or repositioning the dish to prevent interfering with the internet signal.
- Referring to the manual to ensure proper alignment of the dish.
- Inspecting receivers, cables, and connectors and replacing damaged ones immediately with shielded ones of high quality.
Finally, do not scrub the dish or use brute force while cleaning, and do not use harsh chemicals or hard brushes. Do not pressure wash or spray on the dish directly with a hose.
Conclusion
Cleaning your Starlink dish is a crucial part of its maintenance. It will determine its overall performance. So, make regular inspections and clean your dish regularly to avoid interruptions of signal or service. However, do not overdo things or take unnecessary risks. Always seek professional assistance if you are uncomfortable with the process or do not know how to proceed.